The Blanket Fort Blueprint: Engineering a Rainy-Day Candy Counter in Your Living Room
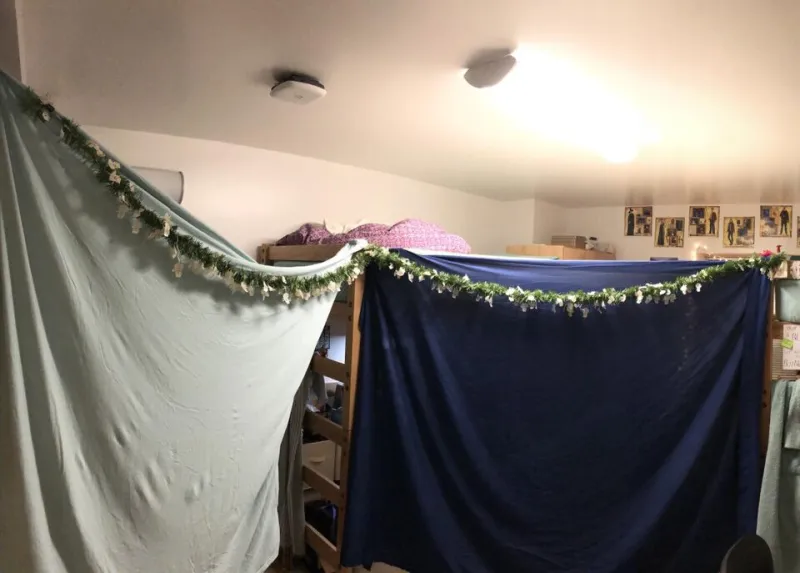
Photo: Dextrous Fred, CC BY-SA 4.0, via Wikimedia Commons
There is a specific kind of Saturday that arrives in November wearing gray socks and refusing to go outside. The sky is the color of a dish towel. Somewhere in the house a kid has already said the words movie night in a tone that suggests the alternative is homework. And you, a reasonable adult, are standing in the living room staring at a couch that looks structurally expendable.
Good. We are going to do better than movie night. We are going to build a fort, and we are going to stock it like a candy counter, because a fort without snacks is just a pile of laundry you are sitting inside.
Step One: The Architecture (a.k.a. Lying to Yourself About Load-Bearing)
Every blanket fort begins with the same optimistic sentence: this will take ten minutes. It will take thirty-five. Accept it, put on a podcast, and remember that the finished product is worth more than the schedule.
Here is the Blue Bee blueprint, refined over many rainy afternoons and one memorable collapse that we do not discuss in front of the children:
- The frame. Two dining chairs, back to back, roughly three feet apart. This is your ridgepole. Add a third chair at a right angle if you want a hallway, because every good fort has a hallway and no good fort has ever needed one.
- The roof. A fitted queen sheet stretched over the chairs and clipped with binder clips. Fitted sheets are the unsung heroes of fort construction — the elastic corners grip chair legs and buy you precious seconds of structural integrity.
- The walls. Lighter throws draped, not tucked. Tucking creates tension, and tension creates the dramatic mid-afternoon collapse. Drape generously, then step back and pretend that was intentional.
- The floor. Every cushion in the house, plus a yoga mat nobody uses, plus one quilt that is technically for guests. Guests will understand.
- The lighting. Battery-operated fairy lights, a flashlight pointed at the ceiling, or the glow of a tablet you have already decided not to feel guilty about.
The one rule we will not joke about: no candles, no space heaters, no extension cords running under fabric, and leave one side open for airflow and exit. A fort should feel snug, not sealed. Adults are allowed to be the boring ones here. It is the job.
Step Two: The Candy Counter
This is where the Blue Bee Bar earns its keep. The trick is not volume — it is variety in small portions. You are not filling a pantry; you are curating a counter. Think of it the way Miss Emily thinks of a display case: a little salty, a little sour, a little deeply unserious.
Assemble five small bowls or paper cups in a row along one wall of the fort. Five is the magic number. Six becomes chaos, four feels skimpy, and three is just a snack.
- Something chewy. Honey caramels, taffy, or those fruit chews that remove dental work for free.
- Something sour. Blue raspberry belts, sour gummies, anything that makes a nine-year-old squint.
- Something chocolate. Chocolate-covered pretzels earn double duty — sweet, salty, and a crumb situation you have already forgiven.
- Something crunchy. Honey-roasted peanuts, yogurt-covered raisins, or popcorn tossed with a little cinnamon sugar.
- Something blue. Obviously. Our Blue Bee gummies exist for exactly this moment, and no, we will not be neutral about it.
Portion them into cups rather than setting out the bags. It looks intentional, it slows the grazing, and it means the last gummy does not become a diplomatic incident.
Step Three: The Lemonade Situation
Every fort needs a beverage, and this one takes four minutes. In a pitcher, stir together three-quarters of a cup of warm water and a half cup of honey until the honey gives up and dissolves. Add three-quarters of a cup of fresh lemon juice, then four cups of cold water. Stir, taste, and add more honey if your lemons were particularly dramatic. Pour into lidded cups with straws, because a lid is the difference between a memory and a carpet cleaning.
Optional but recommended: a small dish of lemon slices on the counter, purely for the look of the thing. Children respect a garnish.
Step Four: House Rules (Written by Someone Who Has Vacuumed a Rug)
A fort runs on two currencies: snacks and rules nobody notices until they matter.
- Cups with lids, always. No open glasses inside the perimeter. This is not negotiable and you will thank us.
- One bowl per person, refills allowed. Shared bowls sound charming and end in a sticky forearm.
- Nothing with a wrapper. Unwrap before you enter. Wrappers in a fort become confetti in a fort.
- The flashlight rule. Whoever holds the flashlight controls the story. Rotate it. Somebody will tell a tale about a bee who runs a candy shop, and it will be better than anything streaming.
- Feet stay out of the candy cups. We should not have to write this. We are writing it anyway.
Step Five: The Dismantle
Here is the part nobody puts in the cozy photos. Set a timer for the last fifteen minutes and make the teardown part of the game — the fort collapse is genuinely fun, and it saves you from doing it alone at ten o'clock at night.
Keep a lint roller by the door for blanket fuzz, shake cushions over the trash can rather than the rug, and give each kid one bowl to carry to the kitchen. That is the entire system. It works because it is short enough that people actually do it.
Fold the sheet. Clip the binder clips to the sheet so you can find them next time, which is the only fort advice that has ever saved anyone a genuine argument. Then turn off the fairy lights and look at your living room, restored to its usual self, and quietly know you will be doing all of this again in about nine days.
The candy counter will need restocking. That, we can help with.